
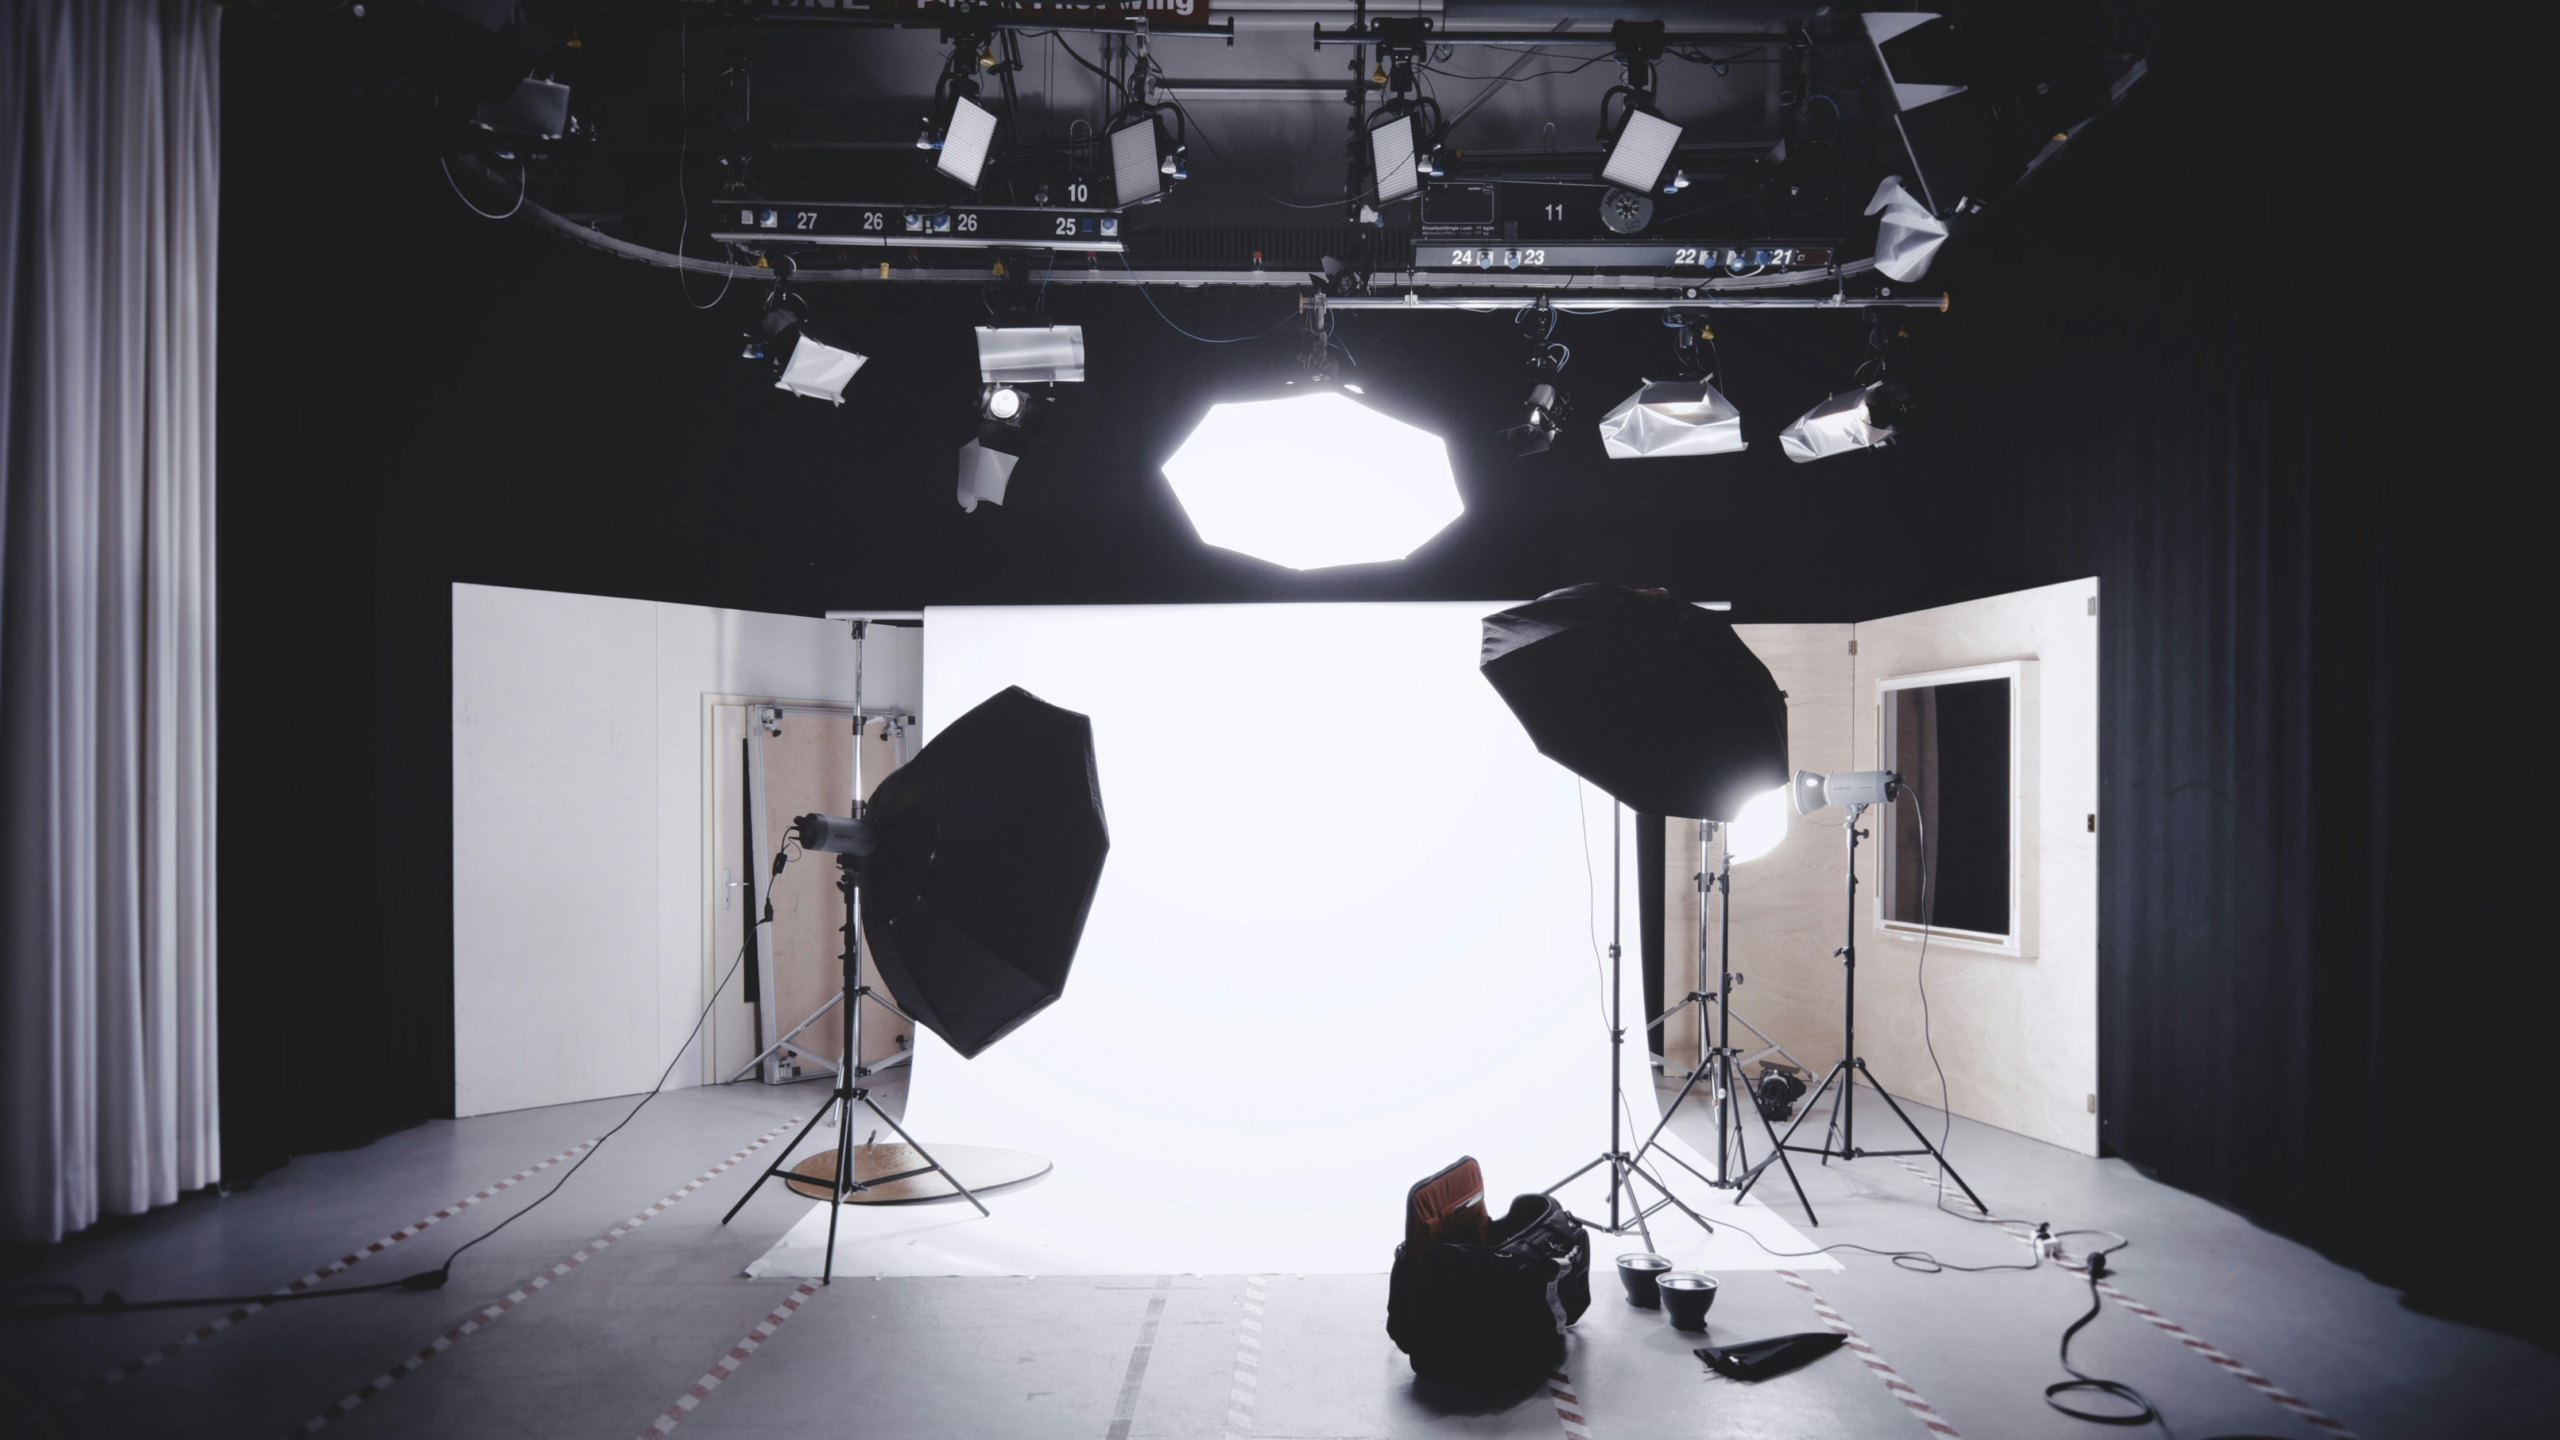
You can spend hundreds of hours making a piece of work — and lose the viewer in the first three seconds because the photo doesn’t do it justice. Gallery directors, MFA admissions committees, residency panels — they’re not seeing your work in person. They’re seeing a photograph of it. And how well that photograph represents your work matters more than most artists want to admit.
Learning how to photograph your artwork properly is one of the highest-return investments you can make as an artist. This guide covers everything from lighting and camera settings to editing and file optimization — so your online portfolio actually shows what your work is capable of.
Table of Contents
- Lighting — The Most Important Variable
- Camera Options: Smartphone vs DSLR
- Shooting Setup: Angle, Distance, and Background
- Solving Reflections and Shadows
- Editing Your Artwork Photos
- Budget Gear Recommendations
- Common Mistakes Artists Make When Photographing Artwork
- Optimizing Images for Your Online Portfolio
- Frequently Asked Questions
Lighting — The Most Important Variable
When it comes to learning how to photograph your artwork, lighting matters more than your camera. A well-lit shot taken on a smartphone will almost always outperform a poorly lit shot taken on a professional DSLR. Get the light right first — everything else follows.
Using Natural Light
Natural light is the most accessible and forgiving option. The ideal setup is indirect daylight from a north-facing window on an overcast day — soft, even, and free. Direct sunlight creates harsh shadows and shifts your colors in ways that are difficult to correct in post.
- Best time: 10am–2pm on a cloudy day
- Avoid: direct sun, mixed lighting (fluorescent plus daylight)
- Diffuse strong light: hang a white sheet or thin curtain over the window to soften the source
Using Artificial Lighting
When natural light isn’t available, artificial lighting is the answer. The standard setup is two softbox lights placed at 45-degree angles on either side of the artwork — this distributes light evenly and eliminates one-sided shadows.
Color temperature is critical here. Aim for bulbs around 5500K (daylight balanced) — this is closest to natural light and will give you the most accurate color rendition. Warm indoor lighting (around 2700–3200K) is one of the most common mistakes artists make, and we’ll come back to that.
Camera Options: Smartphone vs DSLR
The honest answer: a modern smartphone in good light is often enough. iPhone 14 and above, Samsung Galaxy S series — these cameras can produce portfolio-quality images when used correctly. But knowing how to photograph your artwork well means knowing the limits of each tool — and choosing the right one for what you’re shooting.

Smartphone Tips
- Use Pro mode or manual mode — auto mode adjusts settings mid-shoot and creates inconsistency
- Keep ISO low (100–400) to avoid grain
- Use a tripod — camera shake is invisible to you but visible in the final image
- Never use digital zoom — move the camera closer instead
- Turn off HDR — it alters color in ways that misrepresent your work
- Turn off portrait mode for 2D work — artificial background blur is not what you want here
DSLR / Mirrorless Camera Settings
- ISO: 100–200 (as low as possible)
- Aperture: f/8–f/11 (keeps the full work in sharp focus)
- Shutter speed: 1/30s or slower on a tripod is fine
- White balance: set manually to match your light source — never leave it on auto
- Shoot in RAW: gives you far more flexibility in post-processing
Shooting Setup: Angle, Distance, and Background
Once your lighting is sorted, the next step in learning how to photograph your artwork is getting your physical setup right — camera angle, shooting distance, and background choice all directly affect the final result.
Camera Angle for 2D Work
For paintings, drawings, prints, and any flat work, your camera must be perfectly parallel to the surface of the artwork — not tilted up, down, or to the side. Even a slight angle causes keystone distortion, where a rectangle appears as a trapezoid. Use a grid overlay or spirit level app to get your alignment exact before you shoot.
Shooting 3D Work
Sculpture, ceramics, installation, and three-dimensional work require multiple angles: front view, 45-degree side view, rear view if relevant, and detail close-ups. Think of yourself as documenting an object that a viewer would walk around — your photos should communicate that full spatial experience.
Background Selection
- White wall: clean, neutral, most common — works for most work
- Gray or mid-tone: better for very light or white-dominant pieces
- Black background: effective for metallic, glass, or light-based work
- Installation context: work that exists in space should sometimes be photographed in that space
Portable backdrop paper (available for $30–$50) lets you create a clean background anywhere. It’s one of the most affordable improvements you can make to your documentation setup.
Solving Reflections and Shadows
Glossy surfaces — varnished paintings, resin work, framed pieces behind glass, photography prints — are one of the most frustrating challenges in artwork photography. The reflection doesn’t just obscure the image; it tells the viewer something got in the way.
- Remove the glass: for framed work, the cleanest solution is to take it out of the frame before shooting
- Use a polarizing filter: attaches to your lens and cuts reflective glare dramatically
- Adjust light angle: move your light sources further to the side — the more oblique the angle, the less direct reflection hits the lens
- Thick canvases: mount them slightly away from the wall to prevent edge shadow creeping onto the surface
Editing Your Artwork Photos
The goal of editing when you photograph your artwork is not to make your work look better than it is — it’s to make your photo accurately represent what your work actually looks like. That’s a different mindset than editing a landscape or portrait. Adobe Lightroom is the most widely used tool for this kind of color-accurate editing work.
Recommended Software
- Adobe Lightroom — best-in-class for color correction and batch editing ($9.99/month)
- Adobe Photoshop — for crop, distortion correction, and fine retouching
- Capture One — professional color management, preferred by many photographers working with fine art
- Snapseed (free, mobile) — surprisingly capable for smartphone-shot images
- VSCO — useful for color adjustments, but avoid heavy presets that alter your work’s actual palette
Basic Editing Sequence
- Crop and straighten — get your edges perfectly horizontal and vertical
- Exposure correction — bring highlights and shadows into a natural range
- White balance — adjust color temperature until it matches the actual work
- Saturation and vibrance — subtle adjustments only; over-editing saturation is one of the most common mistakes
- Sharpening — light sharpening to bring out surface texture and detail
- Noise reduction — if you shot at high ISO, reduce grain without losing detail
Once editing is done, view the image on at least two different devices — a monitor and a phone — and compare it against the actual work if possible. Color rendering varies significantly between screens, and what looks accurate on your laptop may look oversaturated on someone else’s display.

Budget Gear Recommendations for Artwork Photography
You don’t need a professional studio to photograph your artwork well. Here’s what actually makes a difference at different budget levels — whether you’re just starting to document your practice or ready to upgrade your setup.
Budget Setup Under $100
- Neewer LED Panel Light (~$35–$50 each) — adjustable color temperature, portable, widely used by artists for documentation. Two of these on either side of your work is a solid starting point. Check current options at Neewer’s official site or Amazon.
- Ulanzi Smartphone Tripod (~$25–$35) — stable, adjustable height, works with most phones. Non-negotiable if you’re shooting with a smartphone.
- White Foam Board Reflector (~$5–$10) — a simple piece of white foam board on the opposite side of your light source bounces fill light back onto the work and softens shadows. One of the highest-value tools in any budget setup.
Mid-Range Setup ($200–$500)
- Two softbox LED kits with adjustable stands (~$150–$250)
- Full-size tripod with ball head (~$60–$100)
- Backdrop paper roll with stand (~$50–$80)
- Polarizing filter for your lens (~$20–$40)
Professional Setup ($500+)
- Strobe lighting with softboxes and triggers
- Color-calibrated monitor for accurate editing
- Tethered shooting setup (camera connected directly to laptop)
- Professional color checker card for precise white balance
For most artists photographing work for gallery submissions, MFA applications, or online portfolios, the under-$100 setup is genuinely sufficient — especially when combined with good natural light. The best portfolio platforms for presenting your work online are covered in the best portfolio platforms for artists guide, which compares options by use case and pricing.
Common Mistakes Artists Make When Photographing Artwork
These are the errors that appear most consistently in artist portfolios — and the good news is that every one of them is fixable once you know what to look for. If you’re trying to photograph your artwork and the results consistently disappoint, one of these is almost certainly the reason.
Warm Indoor Lighting
Standard household bulbs (2700–3200K) cast a yellow-orange tone over everything. Your whites turn cream, your cool blues shift warm, and your color palette misrepresents the actual work. Switch to daylight-balanced bulbs (5500K) or shoot by window light instead. This is the single most common mistake, and it’s one of the easiest to fix.
Over-Editing Saturation
It’s tempting to push saturation up in post to make colors pop — but oversaturated images look artificial and misrepresent your palette. If a reviewer sees the actual work after seeing the photo, the discrepancy damages trust. Accuracy is the goal, not enhancement.
Crooked Camera Angle
Even a few degrees of tilt causes visible distortion in 2D work. Rectangular canvases appear trapezoidal; the work looks careless before anyone has assessed its content. Use a grid overlay, a spirit level app, or a tethered laptop preview to get the alignment exact before you shoot a single frame.
Low Resolution Uploads
Uploading images that are too small — or compressing them too aggressively — results in pixelated, detail-less images that fail to represent textural and surface qualities in the work. For online portfolios, aim for images with the longest dimension at 2000–3000px at 72–150dpi. This gives enough resolution to display well on any screen without making files unnecessarily heavy.
Glossy Varnish Reflections
A high-gloss varnish or resin finish can make a painting beautiful in person and nearly impossible to photograph. Hotspots and glare obscure whole sections of the image. The solutions are a polarizing filter, adjusted light angles, or — when possible — photographing before the final varnish coat is applied.
Optimizing Images for Your Online Portfolio
Getting the photo right is only part of the process. Once you photograph your artwork and edit the files, how you prepare and upload those images affects how they look and perform on your portfolio site.
- Format: JPEG for most portfolio use — good quality-to-size ratio. PNG if you need transparency. WebP for modern sites that support it.
- File size: aim for under 1MB per image for web use. Larger files slow page load and frustrate viewers.
- Dimensions: 2000–3000px on the longest side is the standard for most portfolio platforms
- File naming: use descriptive names — FirstName_LastName_Title_Year_Medium.jpg — rather than IMG_4823.jpg. It matters for search indexing and professional presentation.
- Metadata: add title, medium, dimensions, and year to each image on your platform. This is what makes your portfolio readable and searchable.
If you’re still deciding which platform to use, the Behance vs Instagram vs portfolio website comparison covers the practical differences between the main options for working artists. And if your portfolio is being prepared for MFA applications specifically, the guide to organizing your MFA portfolio covers selection and sequencing alongside image quality.
Frequently Asked Questions
Q1. Can I photograph my artwork with a smartphone?
Yes — with the right conditions. A recent iPhone or Android flagship in good light, on a tripod, with manual settings enabled can produce portfolio-quality results. The camera matters less than the lighting. If the light is bad, no camera will save the shot.
Q2. What’s the best lighting for photographing artwork?
Indirect natural light from a north-facing window on an overcast day is the gold standard — soft, even, and color-accurate. If you’re using artificial lighting, two daylight-balanced LED panels (5500K) at 45-degree angles on either side of the work is the standard setup. Avoid mixing light sources — it creates color shifts that are difficult to correct in editing.
Q3. How do I photograph artwork that’s behind glass?
Remove the glass if at all possible — it’s the cleanest solution. If removal isn’t an option, use a polarizing filter on your lens and angle your lights to the side to minimize glare hitting the lens directly. Shooting at a very slight angle can also help, though this introduces some distortion in the work itself.
Q4. Should I edit my artwork photos?
Yes — but with restraint. Basic corrections like crop, white balance, and exposure adjustment are expected and appropriate. What you’re trying to avoid is transforming the work through heavy filtering or saturation boosts. The image should represent the actual work as accurately as possible, not an idealized version of it.
Q5. What file size should I use for online portfolio images?
Under 1MB per image is a reasonable target for web use. Images in the 2000–3000px range at 72–150dpi, saved as JPEG at 80–90% quality, typically fall within this range and display well on any device. If your platform automatically compresses images, upload slightly larger files and let the platform handle the compression.
Q6. When should I hire a professional photographer instead of doing it myself?
For large-scale installation work, complex sculpture, or any situation where the physical scale or material qualities of the work are central to the piece, a professional art photographer is worth the investment. Also consider it for high-stakes submissions — major gallery proposals, grant applications, or MFA applications where image quality directly affects how your work is evaluated. Rates for 10–20 works typically run $200–$500 depending on location and the photographer’s experience. For guidance on building the rest of your MFA application around your portfolio images, the MFA portfolio preparation guide covers what committees are actually looking for.
Final Thoughts
Learning how to photograph your artwork isn’t a secondary skill — it’s a fundamental part of how your practice reaches the world. Good documentation doesn’t make bad work look good. But poor documentation makes good work look bad, and that’s a problem entirely within your control to solve.
You don’t need a studio. You don’t need expensive equipment. You need consistent, well-lit conditions, a stable camera, and enough patience to get the framing and settings right before you start shooting. Do that, and your portfolio images will start to do justice to the work behind them.
Start today: place your work near a window, put your phone on a tripod, switch to manual mode, and take one properly set-up shot. Compare it to what you’ve been uploading. The difference is usually immediate — and from there, the process only gets more refined.